Posts

Showing posts with the label Acrylic

Paint Infills

Image
I have done more than a few paint infills before and I've had quite a lot of success using thinner airbrush paints and paint brushes to get the paint to flow into the gaps before wiping them off. This time I had thirty dials to make that were quite intricate in places so I thought I'd try some of my acrylic paint markers. Presumably the paint inside is already a bit thinner and the pen is the brush which made it super easy to apply. By pressing the nib to get the paint flowing you could see it creeping along the engraving and into all the corners.   This time around I let them all dry out completely before using a 600 grit sand paper to sand the excess paint off. Sandpaper is not advisable for a high gloss plastic but this is actually a frosted white acrylic so you really can't see a difference after it has been sanded. A quick blast of air from the compressor it it was all clean and ready to go. The colour is each segment was added with a bit of sharpie once all the paint...
River Coaster Update

Image
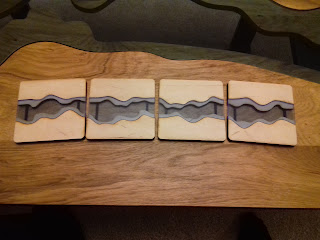
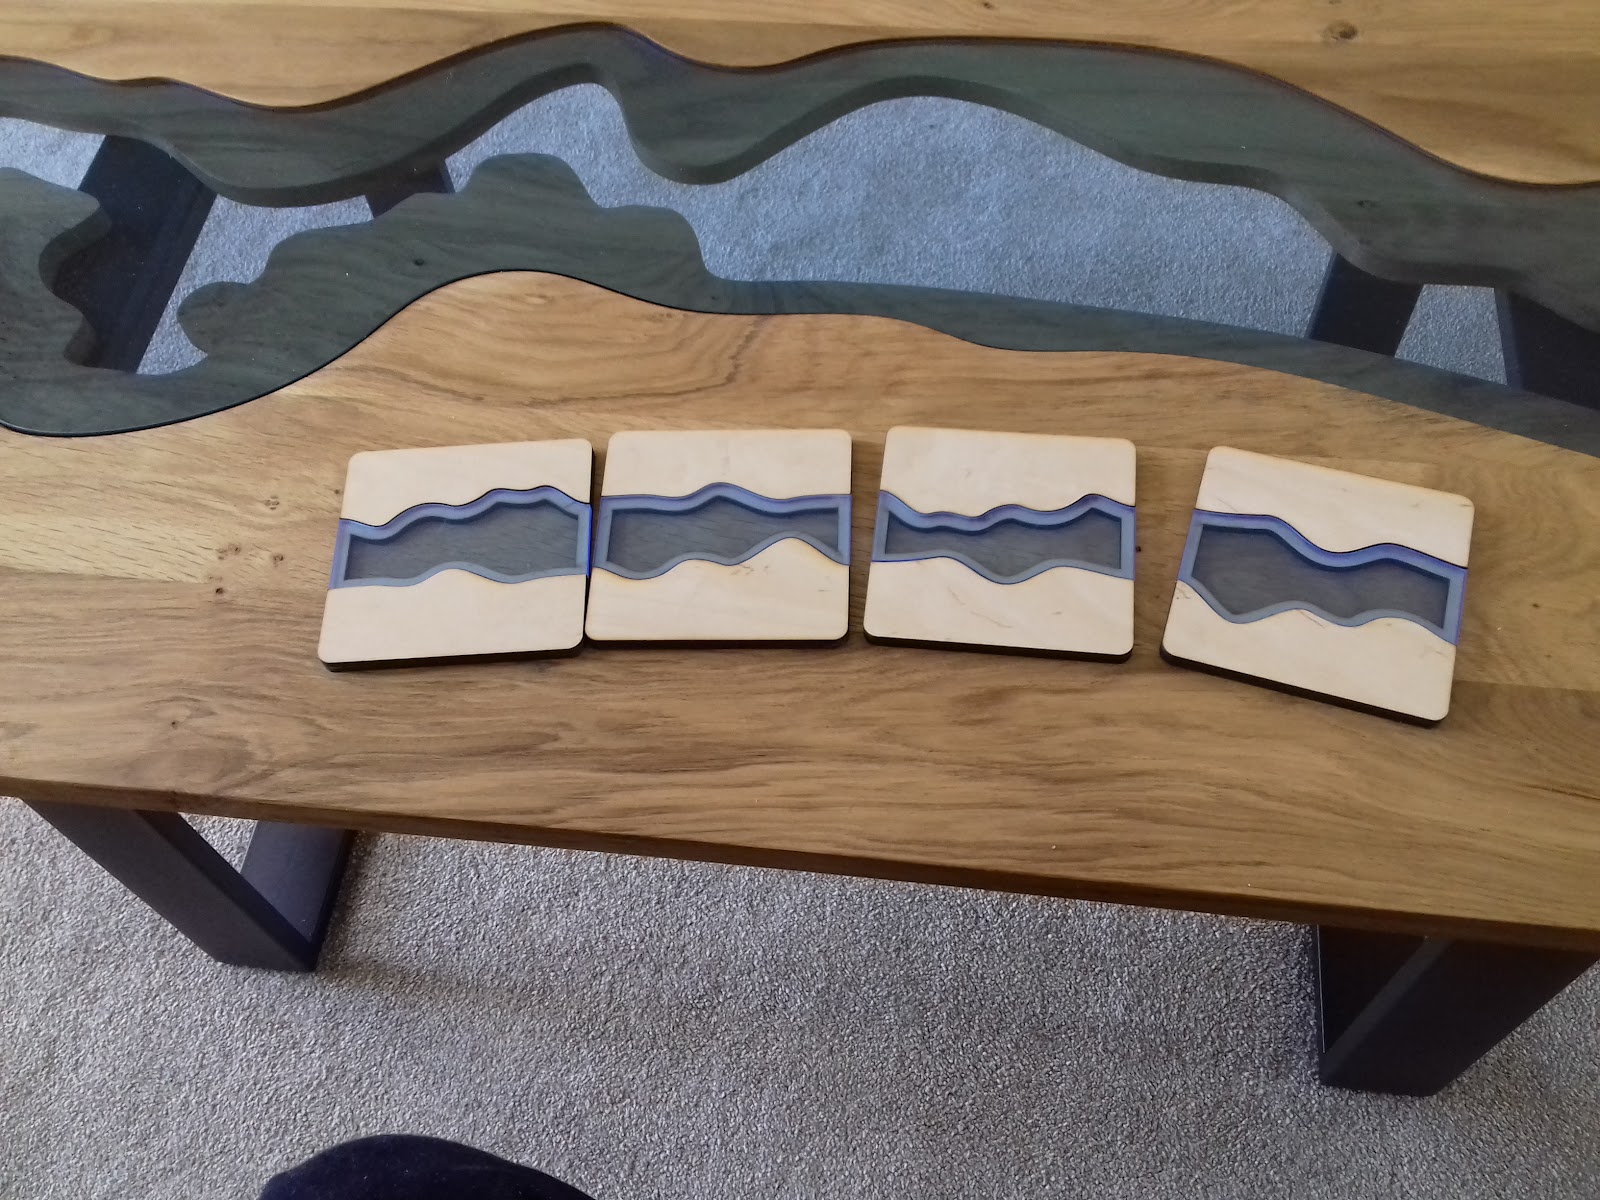
  I sat with the river coasters on our coffee table for a few days and decided that they weren't quite right and that I could do better with them. I went back to the artwork and adjusted them to produce this new and improved design. The lower layer of the river now has it's own curves that differ from the upper layer, it's a more interesting shape for the whole coaster. The upper and lower layers but start and stop in the same positions so the tiles can still be laid in any order. The lower layer tiles also share common edges to make the cutting fast and simple. The lower layer now runs all the way to the edges which makes it look much more like a continuing river this achieved by cutting the two halves of coaster and spanning across the gap with a spar underneath the coaster. I'm using the stronger  5 Ply BR grade birch plywood  which is plenty strong enough for this 3x3mm spar. The spar locates into the lower layer of the coaster which is hidden under the top layer. J...

River Coasters

Image
  Even though I was moderately pleased with my simple coasters last week , I knew I could do something better to go with our new coffee table. Taking a design hint from the table itself, I replicated the river style in a much smaller format. I've used blue flourescent perspex  several times before to give the same water effect.  I took a second cue from my Carcasonne River Expansion , each tile aligns with all the other tiles in any combination. the river edges all meet at the same point and the same direction so which ever order they go in they'll form a nice looking river. A neat little trick for saving material involves lining up two banks of a river as a single cut. The rivers themselves were staggered so that each line was used twice, that allowed me to cut all the perspex in a single blank and the top layer of material compressed into something smaller than a whole coaster. The bottom layer still had to be full size and I had to include some material between the tw...

Yet Another Bartop Arcade Cabinet

Image
  I rescued this arcade cabinet from a Leicester Hackspace member who no longer wanted it. All of the console components had been kept and the unit was basically a screen in a box with some additional LED strips. I only needed it for a single weekend event so I was fortunate that another hackspace member also desired the cabinet after me and he had all of the electronics components to go back inside it. My job was to simply wire it all up and make something to house it all in. I decided to make a stand alone unit to fit inside the hole where the old joysticks used to be. This 2 player, 6 button arrangement works relatively well, holds two usb input pcbs and a raspberry pi. This means it can be removed and connected to any other TV using the HDMI. I chose fluorescent green Perspex for the detailed artwork. The single lines really catch the light and show up well. I kept the engraving to a minimum on the circle details so that it didn't take forever to cut and the whole thing came ou...

Acrylic Door Sign

Image
  My wife became a fully qualified consultant at the start of last year but she's finally got a permanent job and settled into an office now. She showed me the A4 printout stuck on her office door displaying her name which was probably a subtle nudge that I should be making her a better sign. This is made from 3mm Duo Perspex bought from Kitronik . It's a very thin layer of metallic gold acrylic on top of black acrylic so you can cut through the top layer and expose the black underneath it. Perfect for making these kinds of signs. I've just used some of my strongest double sided tape on the back because I'm sure someone will complain about holes in the door for any other fixing method. Hopefully it will last a while. With a new job in a hospital 45 mins away, this means moving the whole family to a different town (as alluded here before), but that also means a double garage/bigger workshop for me. I've got plans to release more laser cut designs and once we've s...

Spool Holder

Image
The He3D printer doesn't have anywhere convenient to store a roll of filament so it needed a separate spool holder, there are lots of designs online but I settled for a simple clone of a free standing type designed to fit the threaded rods and bearings I have lying around (M8 rods and skate bearings). ( svg here )

Double sided edge lit sign

Image
I haven't seen any other double sided edge lit signs before and it's probably with good reason but I think this one came out well enough considering. ' Eldritch ' wanted an edge lit sign for an exhibition, arrows on both sides so that it can be pointed towards the stall from either side. Sounds simple enough, their logo is white lettering on black background so the idea was at least workable. I sprayed some clear acrylic sheet black and etched the logo through the paint to make it stand out. The colour contrast is good but you can kind of see the opposite logo on the other side and the arrows didn't quite line up which is always a disappointment. I used a paint can on the sheet for ease and after reading the instructions I used some fine sand paper to key the smooth surfaces of the sheet. The trouble is that this 'frosting' of the sheet absorbs light from the strip and prevents it from reaching the lettering. There is far less internal reflectio...

Custom Perspex Coins

Image
Some friends wanted some custom made perspex coins featuring Dave's face on them. I generally don't do a lot of engraving so it was a good opportunity to try and get some detail into the face. Lightburn has lots of options for engraving images so after a bit of fiddling I was able to sort something out where you could even see the smile and teeth.  The next issue was making the engraving round. Lightburn imports and engraves square images so I had to do some image manipulation before importing it. A white circle background with a ring provided the additional details. The reverse was a simple vector artwork for engraving. I had an annoying issue where I moved the sheet when I flipped it over so the reverse wasn't particularly well aligned with the front and I ended up cutting some additional pink tokens to go with the purple ones.

ARC Prison Facility Door Locks

Image
The 'From Shadows' event was held at the Gaol in Oakham and as you would expect from an urban air soft site held in an old prison there are still actual cells available for playing in. Looking for a futuristic way to indicate if a cell is open/closed and being unable to actually lock people in cells I was asked to make these 'door locks' for the event. Each door lock is a simple arrangement of batteries and LED's, keeping them cheap allowed me to make ten locks within the budget. The state change from locked to unlocked is done with a micro switch that becomes activated once a key card is inserted into the slot at the top of the unit. Once I started pushing cards into the slot though I realised I would be able to do something much more clever for minimal effort. By taking a number of notches out of the bottom of the card and having a similar notch arrangement inside the slot I could set it up so that each card would only open the appropriate door lock....

Chalk Outlines

Image
Ruth , who drew the awesome goblin on the top of my treasure chest, wanted some chalk outline silhouettes for Christmas decorations over on her 'For Real Serial'  website. This 3mm perspex outline was surprisingly sturdy and as always people take much better photos than I do. They look great and would be fun on any tree.

Cyber Control Panel

Image
Coming in very highly on my overdue project list is this Futuristic control panel for the From Shadows event that happened over a month ago. I was rushed and wish I had photos and a video of more of the details. I don't even appear to have photos of the separate parts. The brief was for a control panel that could be split up into parts that were acquired throughout the course of the weekend. I wanted to take it a step further and split it up into parts that make the panel functional when connected back together. Two large hex bolts on the back could be removed, without tools, to provide access to two compartments. The first compartment was designed to house a 'battery', the second compartment had some exposed connectors. When the battery was inserted into the first compartment and the the connectors bridge with the appropriate loop power was supplied to the front of the device. The switches in the bottom left hand corner have illuminated LED's, flip both of...

LARP Vant Shields

Image
6mm ABS inner core of shields This project turned out to be quite the collaboration between makers. I was asked by Eldritch to cut some thick ABS plastic that was going to go inside a pair of ballistic shields. There is a growing crossover between LARP  and Airsoft  and new rules being developed to cope with both. These shields don't have to follow the normal, foam rules, and actually need to be stiffer and stronger to withstand all the incoming ball bearings. The possibilities of windows in shields now becomes an option so I cut some 6mm perspex for windows and wooden surrounds to hold them all into place on the shield. The shields then went on to Eldritch who covered them in a layer of foam, bolted all the parts together and generally turned them into functional shields. Shields at the Eldritch workshop These shields look great however nice shiny shields don't really fit into the post apocalyptic style game they were destined for, that's when the owners too...

Light Fittings

Image
The new light fittings The light in our lounge is pretty dim, really we should replace all the lights with better ones but we're waiting to redecorate everything at the same time. The idea suddenly hit upon me that I should replace the shades with something better (and laser cut). The old fittings basically block out a large chunk of the light being produced so I copied the size and shape but reproduced them in semi transparent materials. The new light fittings, three of them, allow much more light to actually enter the room making it appear much brighter. The old light fittings blocking most of the light The fittings were made from 6mm clear acrylic which was double stacked for strength. Double sided carpet tape was placed around the edge to affix the polypropylene to the front. Simple but effective. Curved former for the polypropylene Light fitting ready to be placed on the light

Christening Cake Toppers

Image
Here is a picture of the cake toppers actually in the cake too. It's another cake made by Dinkydoodle designs  and the toppers are cut from 3mm mirrored acrylic.