Posts

Showing posts with the label laser ply

Pinball Clock

Image
The time is 12:10 and 31 seconds Now that we finally moved house we have space for all the extra things. The new house has a large extension which allowed us to turn the old dining room into a bit of a games room. We're now the proud owners of a Stargate pinball machine  which we love but it's very possible to loose track of time while we're playing. I decided that we needed a clock in the room and it would be cool if it was in keeping with the pinball theme. I dug out an old dot matrix display and a wemos D1 wifi controller so that it can retrieve the time from the internet without the need to set it up. The screen is an 8x32 red LED dot matrix , controlled by the MAX7219 chip. The display uses SPI to connect to a Wemos D1 microcontroller , this means there's only three data lines that need to be wired between the two devices. Power and Ground are also connected to the Wemos board which allows the whole thing to be powered from the USB connection, this is useful for pr...

River Coaster Update

Image
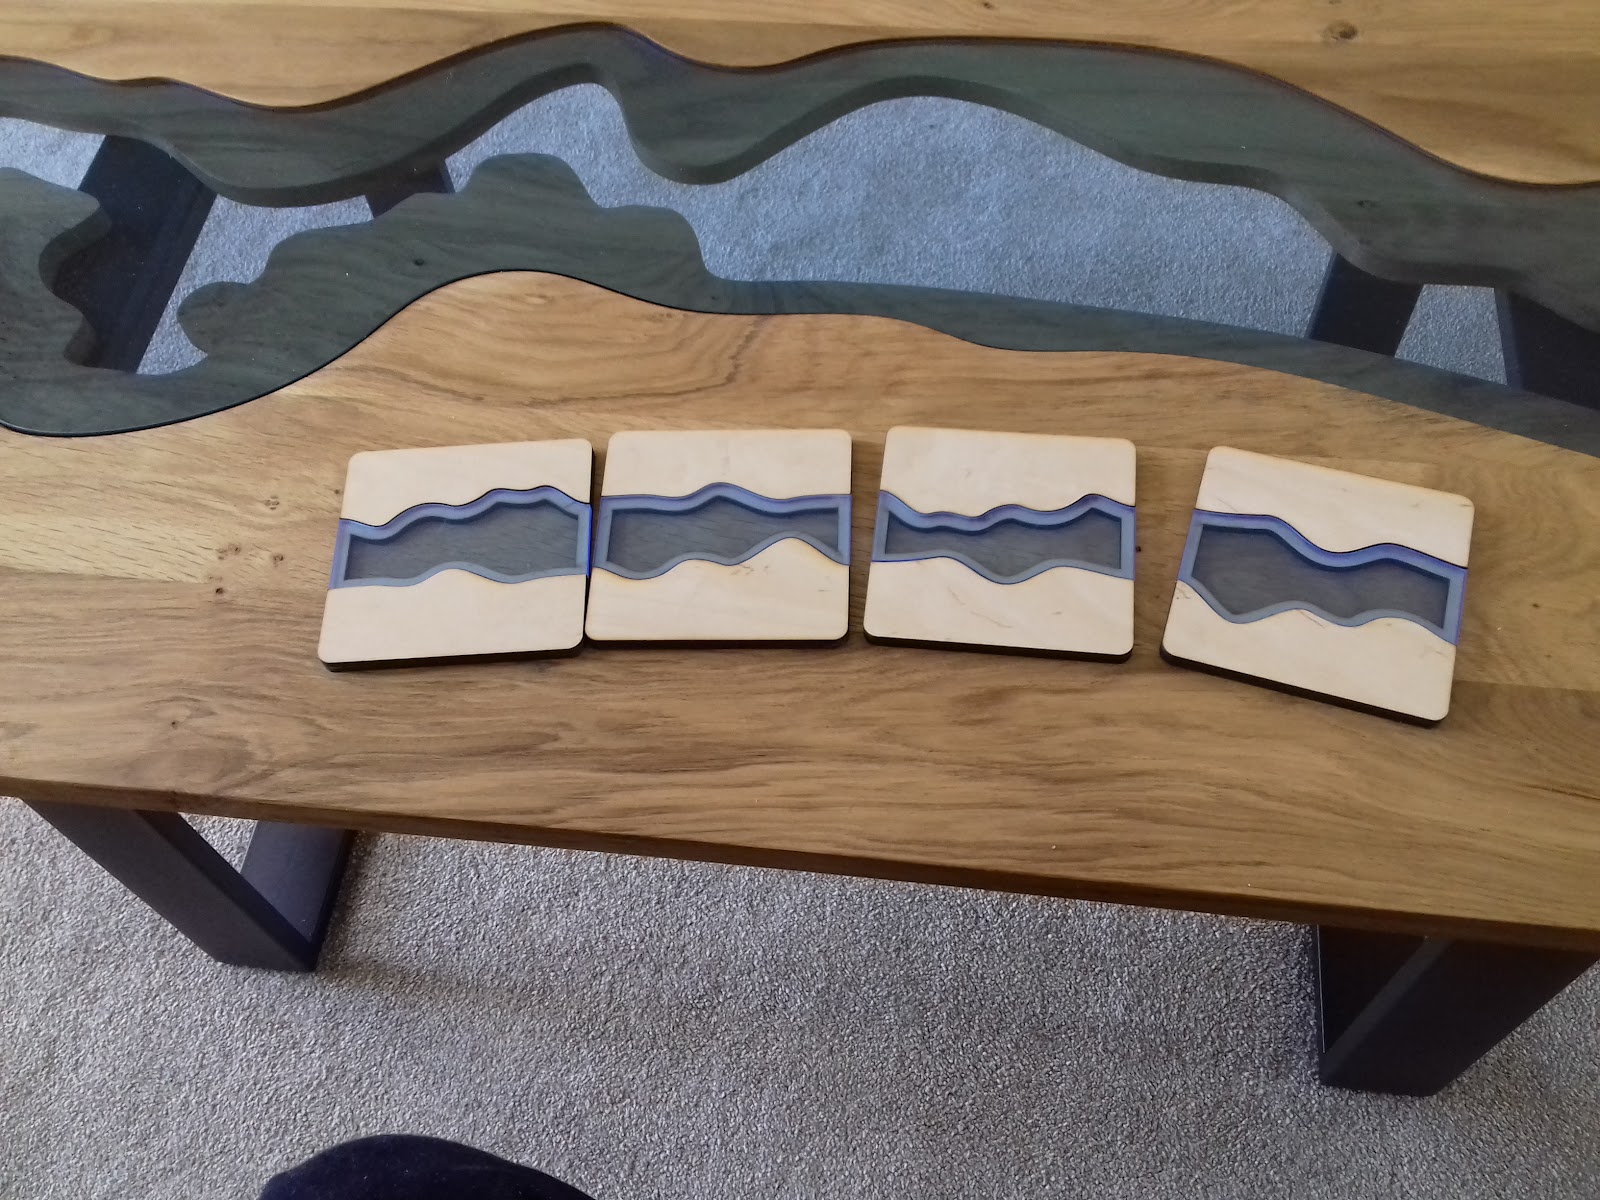
  I sat with the river coasters on our coffee table for a few days and decided that they weren't quite right and that I could do better with them. I went back to the artwork and adjusted them to produce this new and improved design. The lower layer of the river now has it's own curves that differ from the upper layer, it's a more interesting shape for the whole coaster. The upper and lower layers but start and stop in the same positions so the tiles can still be laid in any order. The lower layer tiles also share common edges to make the cutting fast and simple. The lower layer now runs all the way to the edges which makes it look much more like a continuing river this achieved by cutting the two halves of coaster and spanning across the gap with a spar underneath the coaster. I'm using the stronger  5 Ply BR grade birch plywood  which is plenty strong enough for this 3x3mm spar. The spar locates into the lower layer of the coaster which is hidden under the top layer. J...

River Coasters

Image
  Even though I was moderately pleased with my simple coasters last week , I knew I could do something better to go with our new coffee table. Taking a design hint from the table itself, I replicated the river style in a much smaller format. I've used blue flourescent perspex  several times before to give the same water effect.  I took a second cue from my Carcasonne River Expansion , each tile aligns with all the other tiles in any combination. the river edges all meet at the same point and the same direction so which ever order they go in they'll form a nice looking river. A neat little trick for saving material involves lining up two banks of a river as a single cut. The rivers themselves were staggered so that each line was used twice, that allowed me to cut all the perspex in a single blank and the top layer of material compressed into something smaller than a whole coaster. The bottom layer still had to be full size and I had to include some material between the tw...

Code Wheel Tray

Image
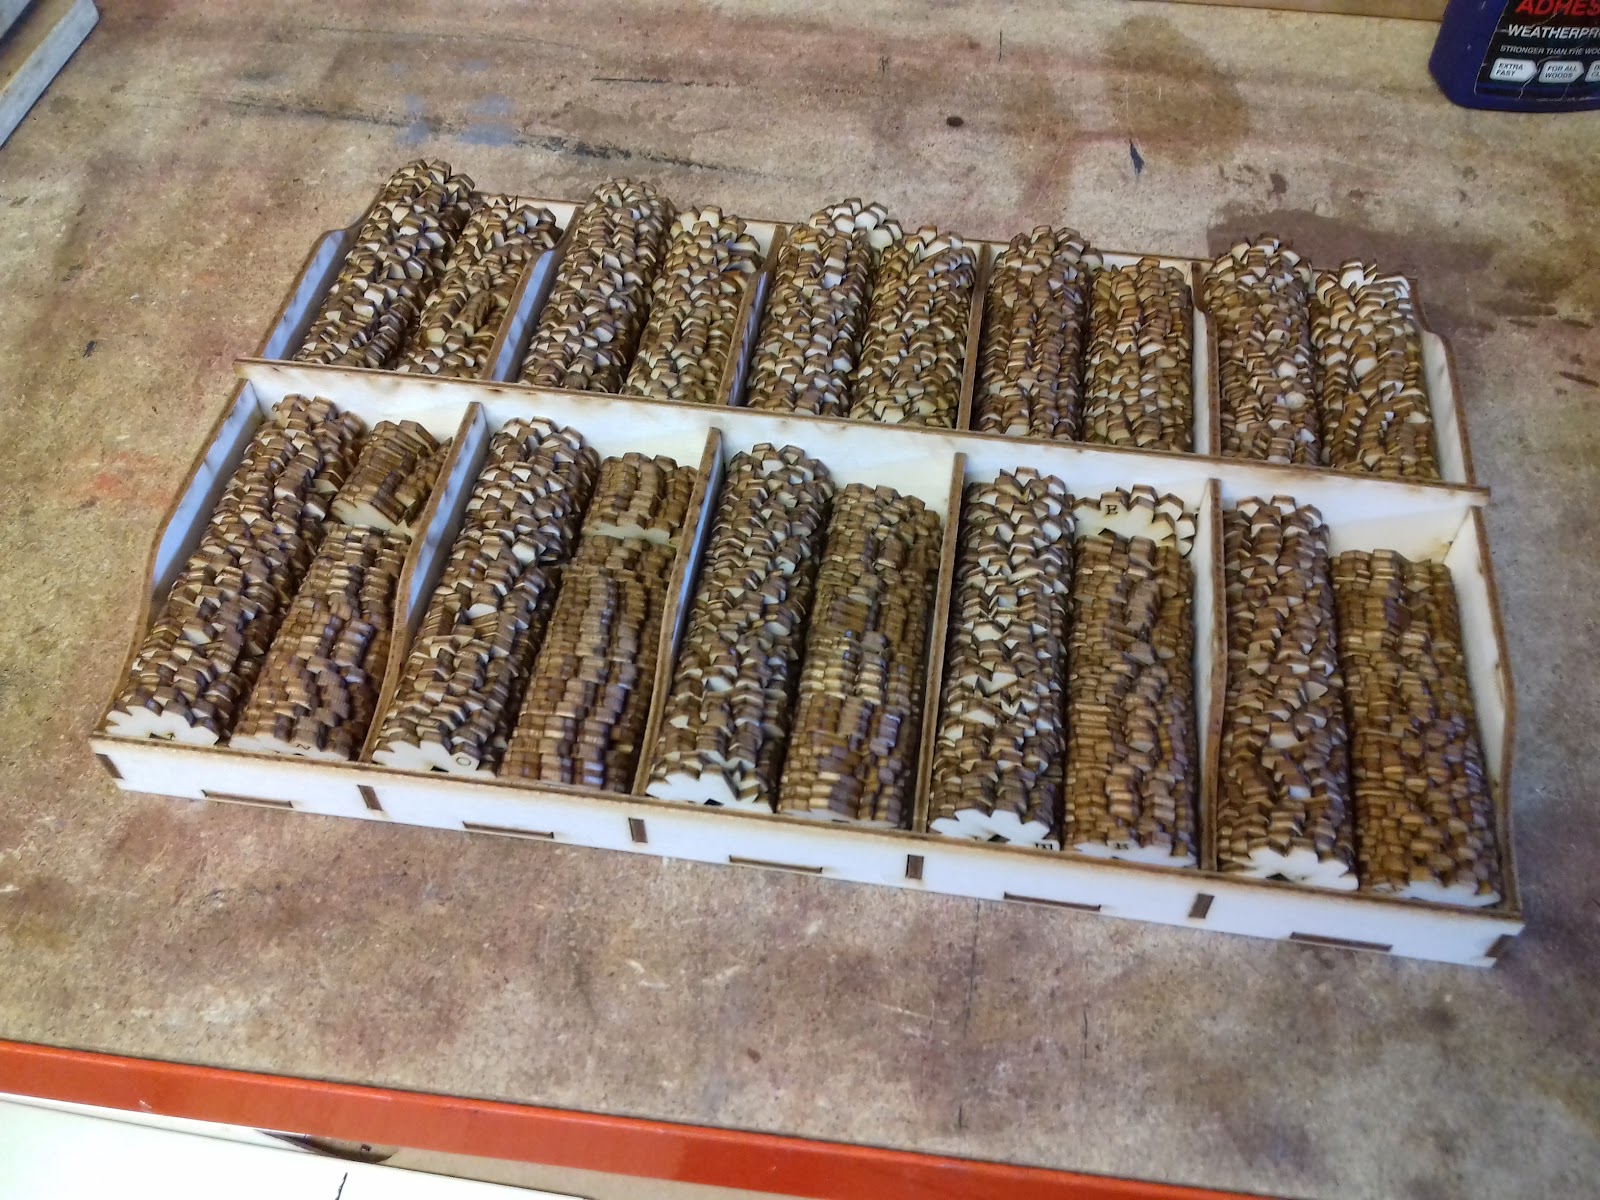
The Dislocation Puzzle  has a ten digit lock in the bottom of the game, solving the codes of the game gives you the answer to open this lock and it's a fairly standard sort of mechanism (I may release it in some form at some point). Each of the code wheels inside the lock is unique, each lock opens at a different angle so that the wood grain doesn't give away the solution (I'm mean like that). So this means I end up with ten very similar looking wheels produced in quantity during the assembly process. To help me stay organised I designed this little tray to keep all the wheels separated. I've made similar trays before and they're usually quite a basic design, the trays I made for my Lego lack coffee table  are still one of the most requested items on my blog. Over time though the bottom of the trays have warped and come away from the adjoining sections. This is largely due to the sheer volume of Lego but I guess age and children leaning on them have a part to play. ...

Dislocation: Mechanical Puzzle Game

Image
  I've been trying to enjoy my time off after finishing the fulfilment for the Loki project , but time off means thinking about the next project and the new puzzles that need to be designed. While we're still in the process of moving house I can't launch into fulfilment for another big game but I have created this smaller, cheaper puzzle that fits perfectly through your letter boxes. The game is currently taking around 4-5 hours to complete so even though it's small in size it's not small in gameplay. It's also been designed as a prelude to the next big game 'Don't shoot the messenger' so while it's not essential to play this first it does add to that story. If you're interested, the pre launch page is already up and I'm hoping to go live some time over the weekend. I've also managed to squeeze a few puzzles into the prelaunch page so go check it out. https://www.kickstarter.com/projects/msraynsford/dislocation-a-mechanical-puzzle-gam...

Yet Another Bartop Arcade Cabinet

Image
  I rescued this arcade cabinet from a Leicester Hackspace member who no longer wanted it. All of the console components had been kept and the unit was basically a screen in a box with some additional LED strips. I only needed it for a single weekend event so I was fortunate that another hackspace member also desired the cabinet after me and he had all of the electronics components to go back inside it. My job was to simply wire it all up and make something to house it all in. I decided to make a stand alone unit to fit inside the hole where the old joysticks used to be. This 2 player, 6 button arrangement works relatively well, holds two usb input pcbs and a raspberry pi. This means it can be removed and connected to any other TV using the HDMI. I chose fluorescent green Perspex for the detailed artwork. The single lines really catch the light and show up well. I kept the engraving to a minimum on the circle details so that it didn't take forever to cut and the whole thing came ou...

Hinged Pumpkin Boxes

Image
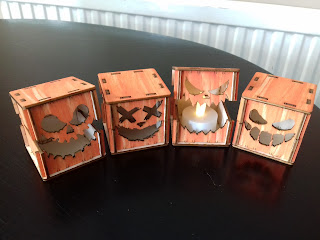
I now have a complete set of 4 different pumpkin designs that I'm happy enough to release. I tweaked all the narrow parts to make sure that everything cuts cleanly and all the narrow parts are strong enough. The design is cut from 3mm poplar ply, painted orange. The files for these pumpkin boxes are available for purchase from my Etsy store. https://www.etsy.com/uk/listing/1303583572/four-halloween-pumpkin-box-plans-gift?ref=listings_manager_grid I'm releasing the basic box shape for you to add your own pumpkin faces too, if you make and design one then please leave me a comment I'd love to see them. ( svg here )  

Hinged Pumpkin Box 3

Image
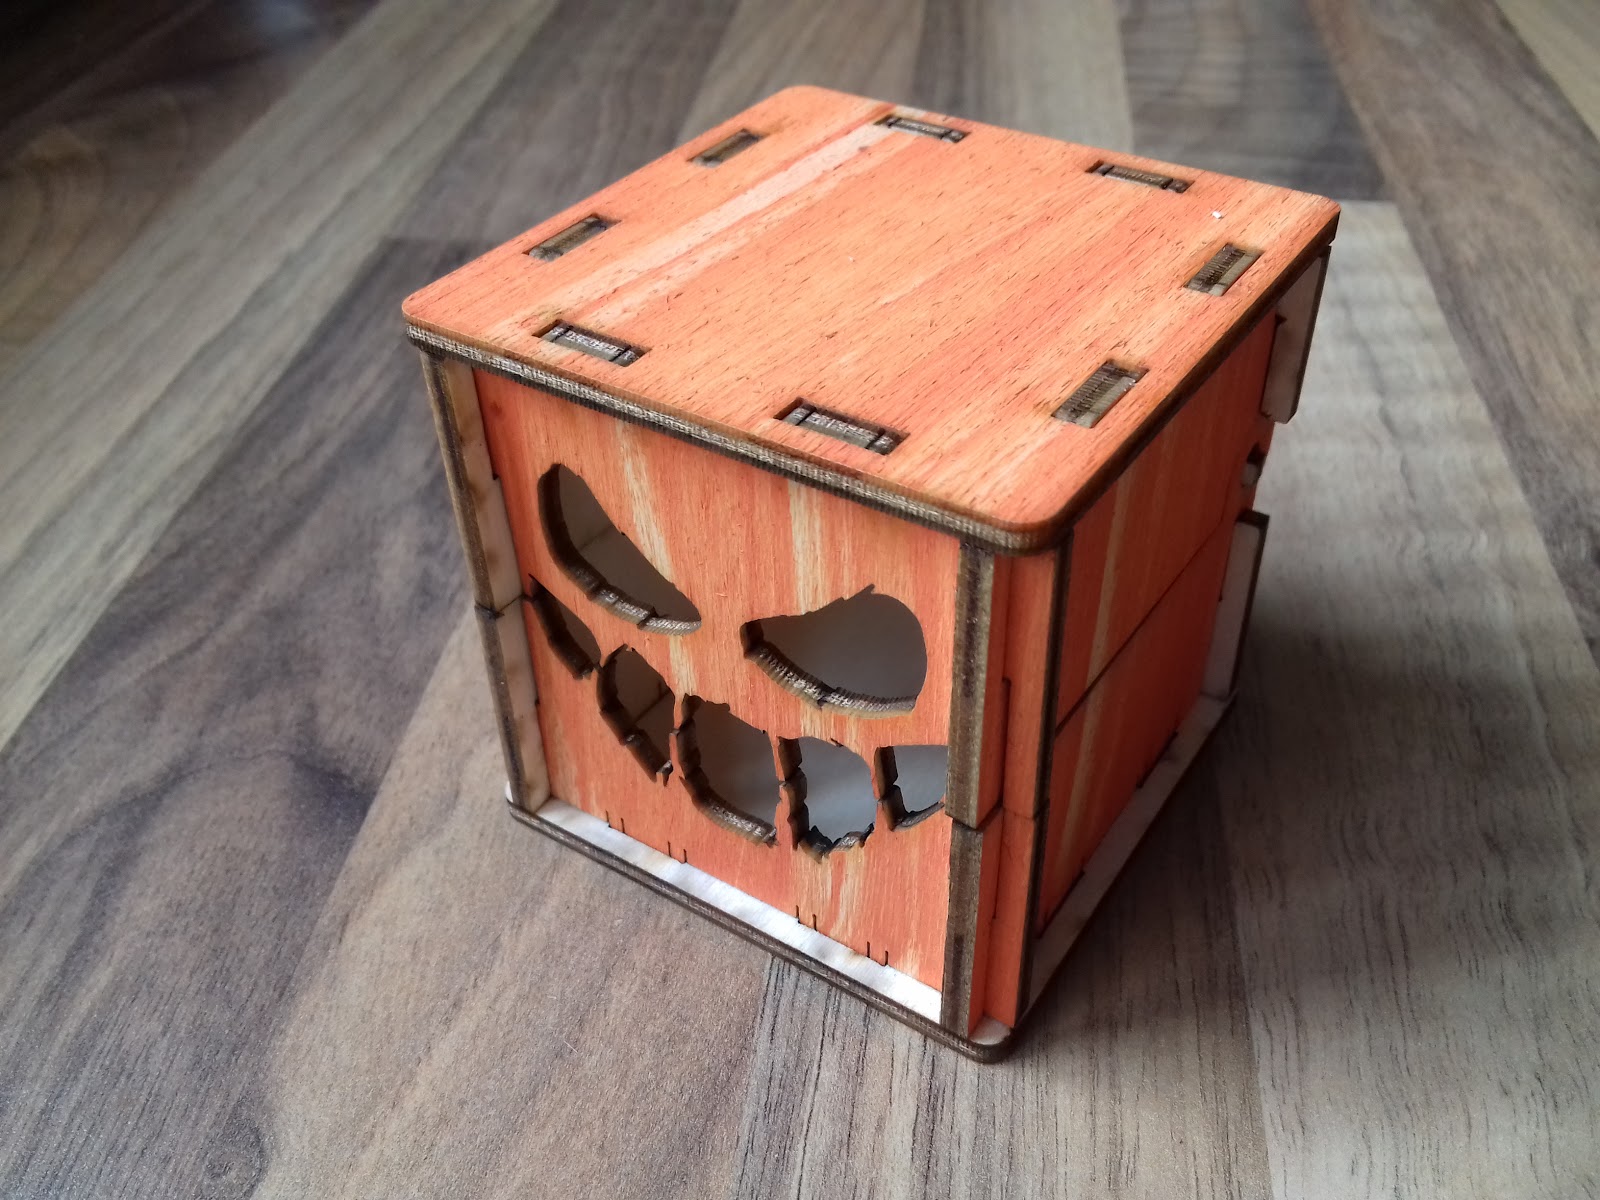
I wanted these boxes to be coloured rather than plain wood so I reached for the acrylic paints and mixed up a nice shade of orange paint for them. The colour came out nice with some good coverage and uniform all over so I scrapped some off again before it had set. The results speak for themselves and I'm really happy with the textured style for the panels. I made sure to align the streaks vertically on the sides of the box during cutting.  

Hinged Pumpkin Box 2

Image
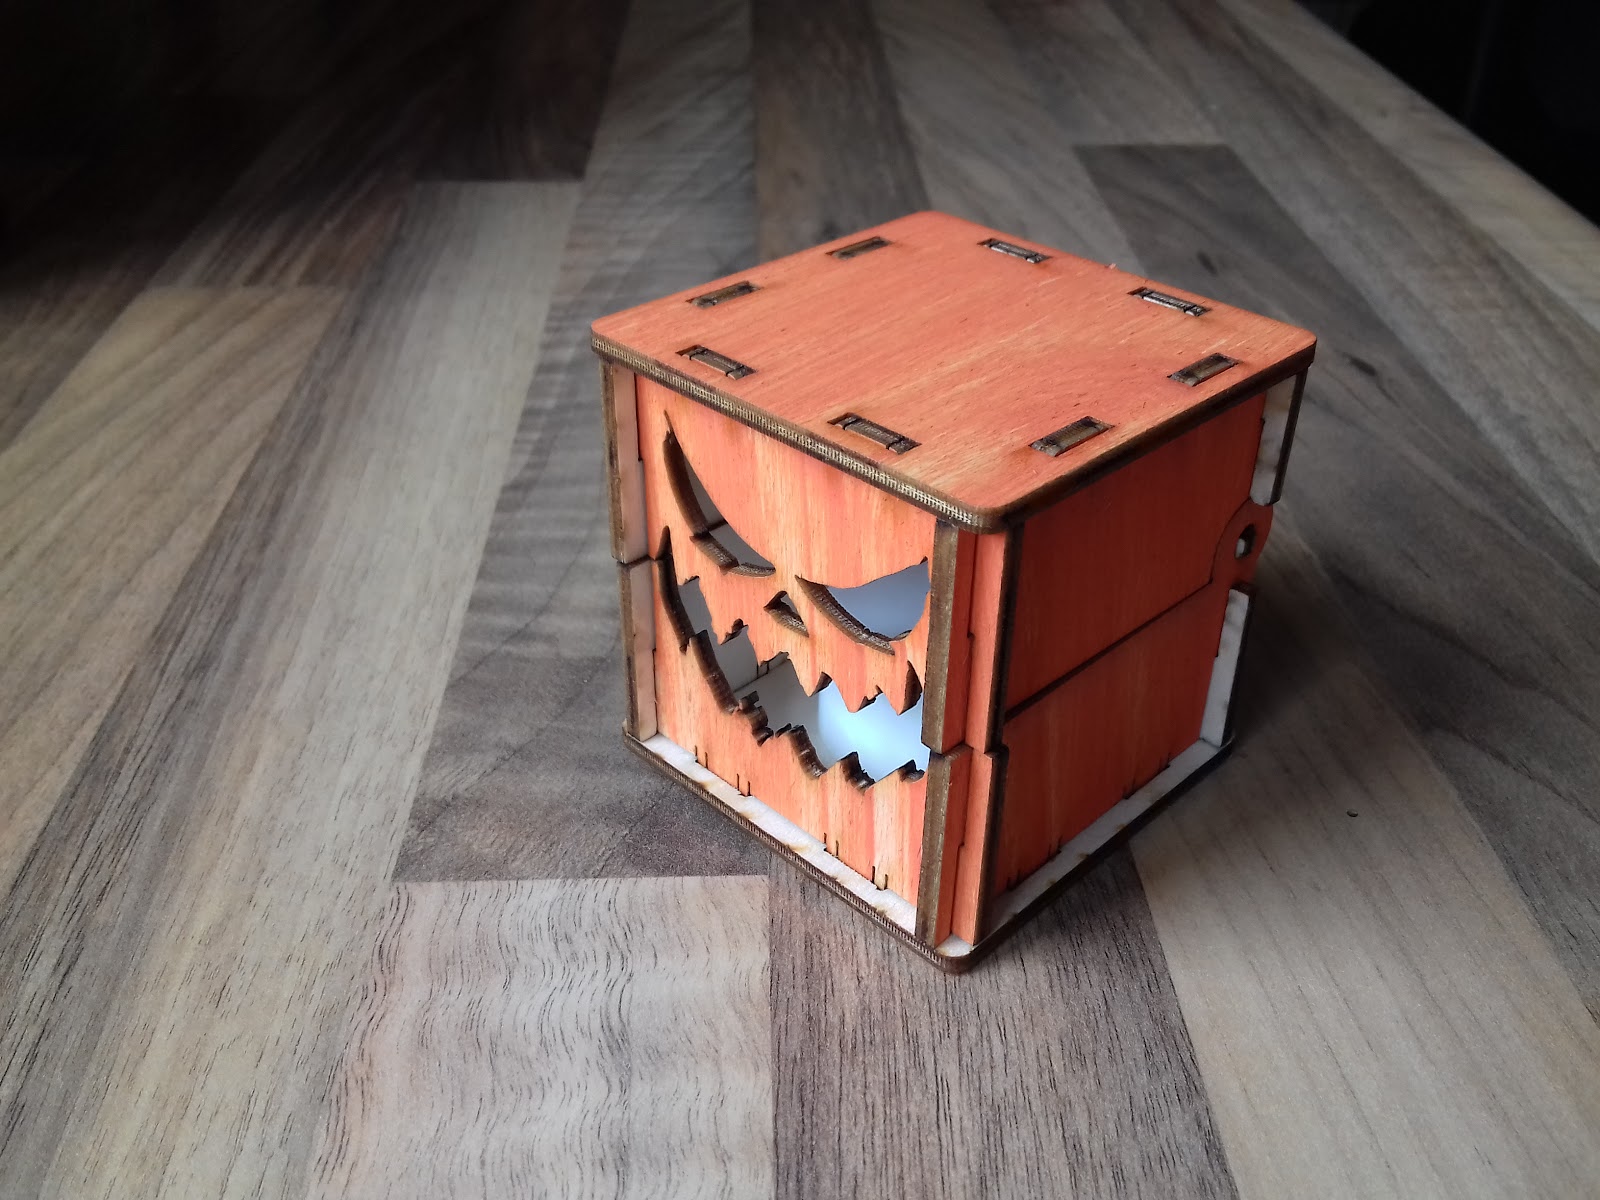
  The back wall of these little boxes has pegs so that the lid can pivot on the side walls of the box. This 'flip top head' opening makes it easy to put objects inside the box. The front wall of the box separates along the smile. It's a relatively simple process to change the face on the front of the box so that you can have lots of unique designs (Like a typical pumpkin).

Hinged Pumpkin Box

Image
  I made some more cute little Halloween boxes based on a pumpkin smile. It's just big enough to hold an LED tea light so it flickers in the dark. The whole box presses together and hinges across the back for a nice wide smile.

Pumpkin Halloween Box

Image
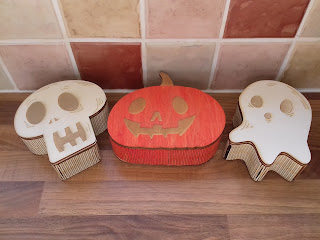
  The final box in the collection is a pumpkin shaped box. The plywood was painted orange and deliberately streaky for this final design to add to the pumpkin texture. I felt that trying to get the edge of the box to curve all of the way around the stalk was a big task so I simply drew the stalk on the lid only and curved the box around the basic pumpkin shape. I've tweaked all three designs to the point where they all work well and are ready to be cut on other machines. The designs are available for purchase through my Etsy store  for a nominal fee (which seems to be a good way to cope with the additional support some people need).  If you're interested and want to support me to make more designs like this, then please take a look. https://www.etsy.com/uk/listing/1307591527/3-halloween-box-plans-gift-box-files

Ghost Halloween Box

Image
For the second of my new Halloween boxes I chose this cute little ghost shape. Again painted white and again a little bit too tight on the lower corners, but it still came out well and can be fixed on the next cut. I'm using the same method to make these boxes that I wrote about on instructables, way back in 2016. https://www.instructables.com/Laser-Cut-Heart-Shaped-Box/ . The process describes how you can make pretty much any shape using a mixture of separate flex sections and minimum bend radius curves. The outer skin is held in place while the glue dries using a former that is also cut at the same time as the rest of the box sides. Because the layers all nest inside each other these formers are a rather efficient usage of materials. I've got a third box design still to make and then I can tidy up the files for release.  

Skull Halloween Box

Image
I realise that Halloween isn't till October but for those people who are keen, like me, it pays to get started early. I've had this idea for interesting shaped flex boxes floating around for a very long time but this year I actually got round to making some more. It's a simple skull to start with, some nice rounded curves on the top and some tighter bends at the bottom of the jaw. Too tight in fact, I've changed it to put a gentler curve on the bottom edge before I release the files. The side of the box is made from two different flex sections for the acute angles to the left and right of the jaw. The whole sheet was painted white which is hard to see from these pictures but it is a bit more obvious in person.  

Dye Rack

Image
I've been using a lot of wood dye for projects recently, especially the tablets, the dyes have all been thrown at the back of the workbench and the cloths loitering around in front of them, some of the colours are very similar though and I swear they've been jumbled up throughout the process so some dyes are coming out darker than they should. I made this dye rack to hold all the different cans and their cloths respectively so now it's much tidier and no chance of them getting jumbled.  I put some extra effort into finishing it nicely, sanding each part and staining it using medium oak wood dye . I feel like it'll be hanging around the workshop for a while. Amusingly it doesn't have enough slots to hold all the different colours but it was as long as I could make with the sheets I had so it'll have to do.   

Tensegrity Structures

Image
For some home schooling last week Eli, Hazel and I made tensegrity structures, which are all popular online at the moment. All of the string elements in the design are actually under tension which gives them the effect that parts are floating in the air and hanging off each other. I laser cut my design (above) from 1.5mm flexible ply , available from Kitronik, which has the right combination of strength and spring. My version has two strings running from top to bottom which eliminates the twisting, caused by gravity, that you usually see with this design. The nylon cord pinches into notches on the wood so it doesn't even need knots tying in it. ( svg here ) 

E-knuff time has passed

Image
It's been a long time since I made that pun and shared this file, I'm probably safe to use it again. My kids have been getting subscriptions to their magazines for a while now and it's great during lock down, each week a comic arrives and takes their minds completely elsewhere. They've now got so many comics they need something to store them in so I looked back at my previous Knuff design and hurried to cut them out.  Clearly a lot changes in 5 years and there are better things I do to present the file but most significantly when I recut the files this time around they still didn't work, now the whole thing has been updated, checked, rechecked and demonstrated to be working. ( svg here )