Posts

Showing posts with the label Poplar

Radiator Key Inserts

Image
I use radiator bleed screws with a square end and radiator keys to secure one of the compartments on the side of the NikolAI box. The screws themselves have a tendency of disappearing all the way inside the keys which can make it really hard to close the compartment again. The simple solution is to pack the inside of the key to prevent the screws from moving too far inside them. The small pieces of packing material had a tendency to fall through the honeycomb on the laser cutter so it was easier to affix them all to a sprue and snap them off as required. This allows me to lift the whole thing out of the laser cutter in a single piece and not lose any of the tiny squares.

Cobra Paw Replacement Box

Image
  We picked up a super cheap copy of Cobra Paw from an outlet store a few weeks ago. I'm honestly not sure how they managed to acquire a dozen water damaged German copies of the game but having played the game before I realised it was totally worth the 50 pence I spent on it. The default box has always felt oversized to me but I guess that's something about perceived value. It prompted me to make this much smaller wooden box for the game which sits much nicer on our game shelf. The rules are simple enough to not actually need a physical copy of them. ( svg here )

Skinny Useless Machine

Image
  Right at the heart of the Nikol-AI box there is a Useless machine  hidden inside a secret compartment that appears at the very end of the game. I tried long and hard to make a standard machine fit in the space available but in the end I had to make the whole box skinnier by about 9mm. The useless machine drops into the box from it's compartment so I actually had to move the batteries inside the machine to ensure that it drops without flipping over. The new location has the weight of the batteries spread evenly across the width but also at the top of the box so the drop helps it slide out towards the front of the compartment. Chris was suitably impressed with the reveal  to the point where he had to explain that it wasn't just tv trickery.

Pinball Clock

Image
The time is 12:10 and 31 seconds Now that we finally moved house we have space for all the extra things. The new house has a large extension which allowed us to turn the old dining room into a bit of a games room. We're now the proud owners of a Stargate pinball machine  which we love but it's very possible to loose track of time while we're playing. I decided that we needed a clock in the room and it would be cool if it was in keeping with the pinball theme. I dug out an old dot matrix display and a wemos D1 wifi controller so that it can retrieve the time from the internet without the need to set it up. The screen is an 8x32 red LED dot matrix , controlled by the MAX7219 chip. The display uses SPI to connect to a Wemos D1 microcontroller , this means there's only three data lines that need to be wired between the two devices. Power and Ground are also connected to the Wemos board which allows the whole thing to be powered from the USB connection, this is useful for pr...

Simple Coasters

Image
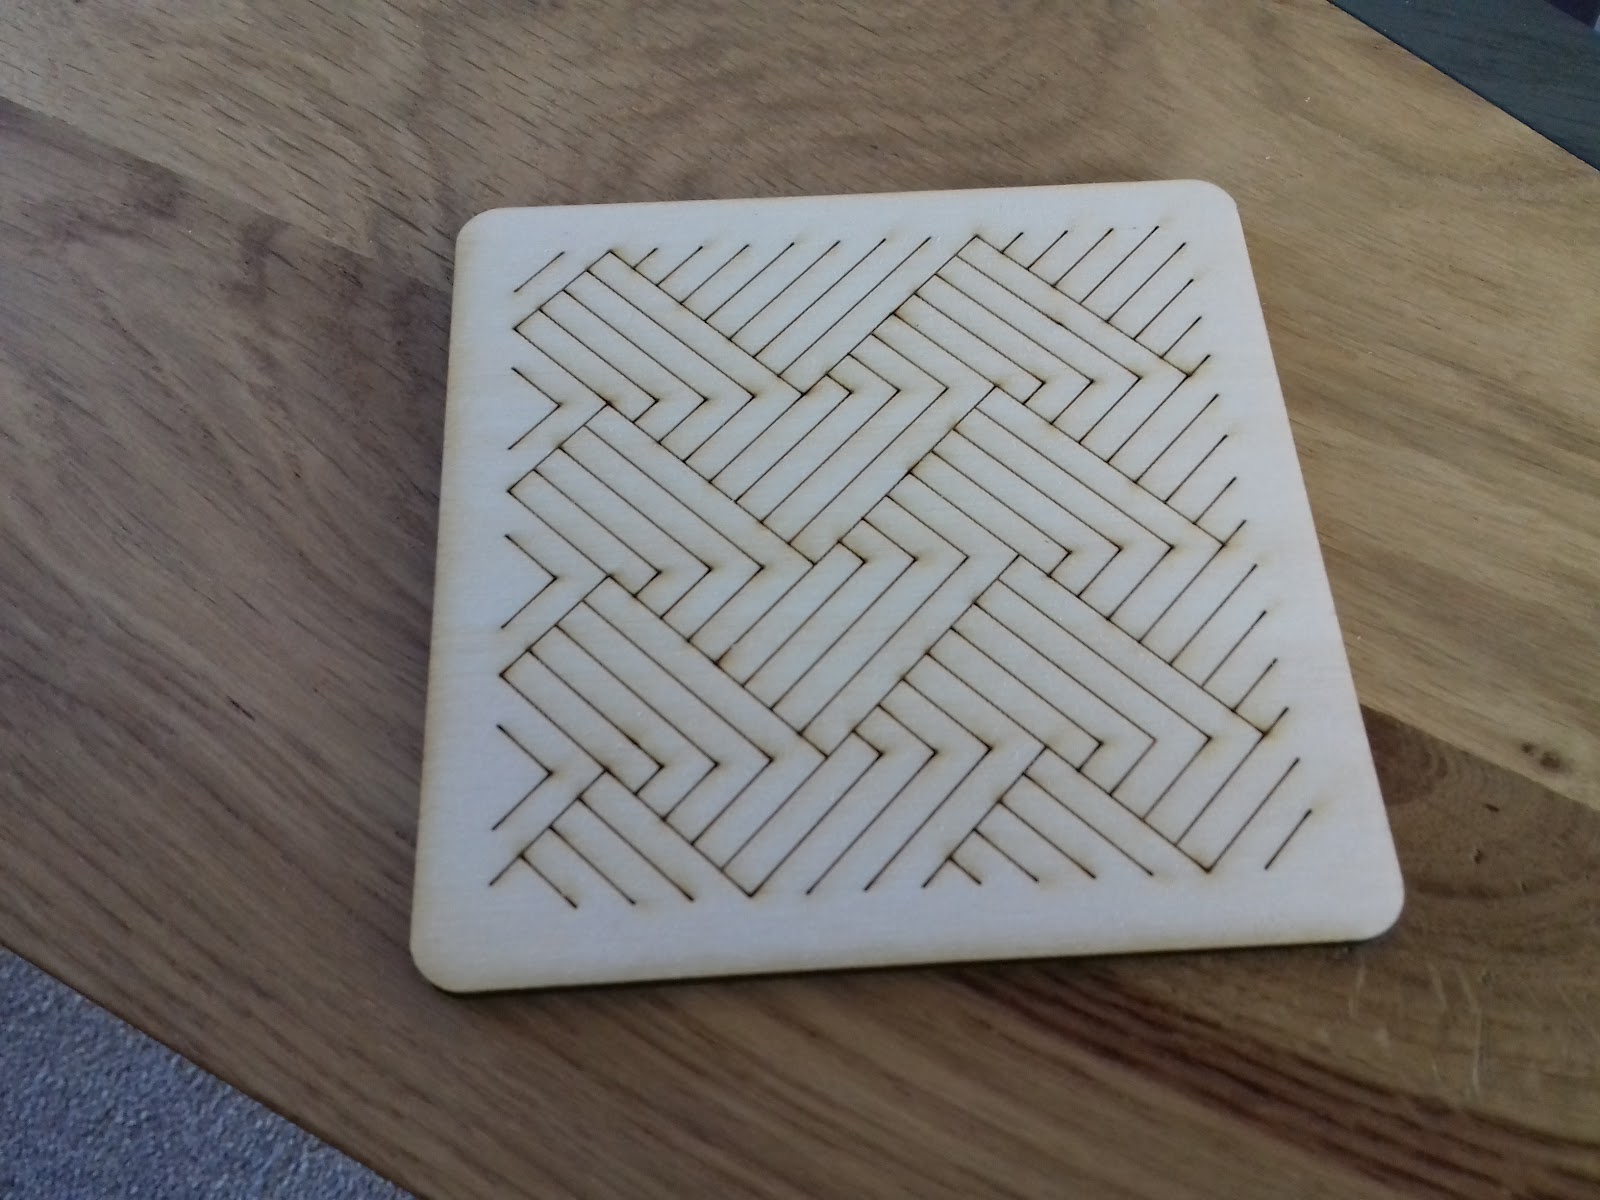
We bought a new coffee table to go in our new house and it's so lovely that I no longer want to put drinks directly onto the table. The table we left behind was a 15 year old Ikea Lack, with a big bend in the middle so easy not to care about it. Thankfully I have a workshop full of scrap wood and a laser cutter and a simple project like this was a good reason to resurrect the cutter. A little bit of drawing later to come up with some interesting line artwork and I cut these coasters to serve as a temporary solution on the new table. ( svg here )

Code Wheel Tray

Image
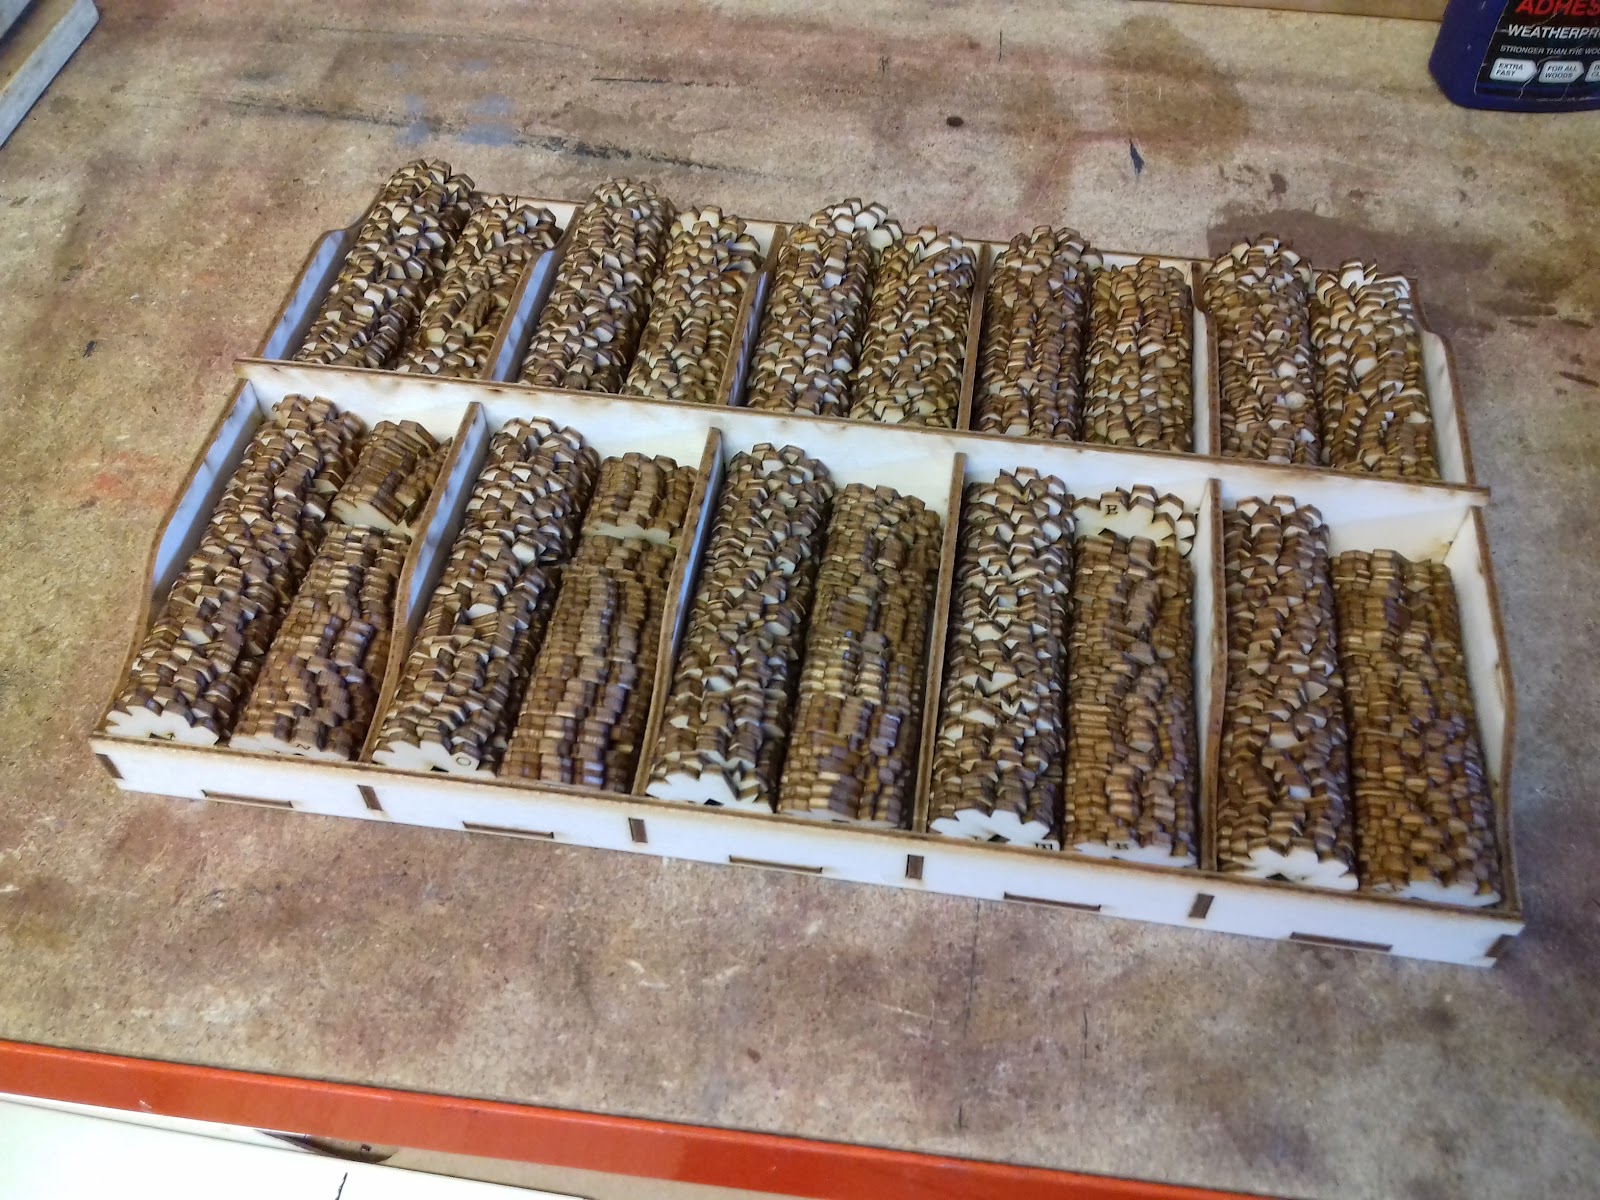
The Dislocation Puzzle  has a ten digit lock in the bottom of the game, solving the codes of the game gives you the answer to open this lock and it's a fairly standard sort of mechanism (I may release it in some form at some point). Each of the code wheels inside the lock is unique, each lock opens at a different angle so that the wood grain doesn't give away the solution (I'm mean like that). So this means I end up with ten very similar looking wheels produced in quantity during the assembly process. To help me stay organised I designed this little tray to keep all the wheels separated. I've made similar trays before and they're usually quite a basic design, the trays I made for my Lego lack coffee table  are still one of the most requested items on my blog. Over time though the bottom of the trays have warped and come away from the adjoining sections. This is largely due to the sheer volume of Lego but I guess age and children leaning on them have a part to play. ...

Hinged Pumpkin Boxes

Image
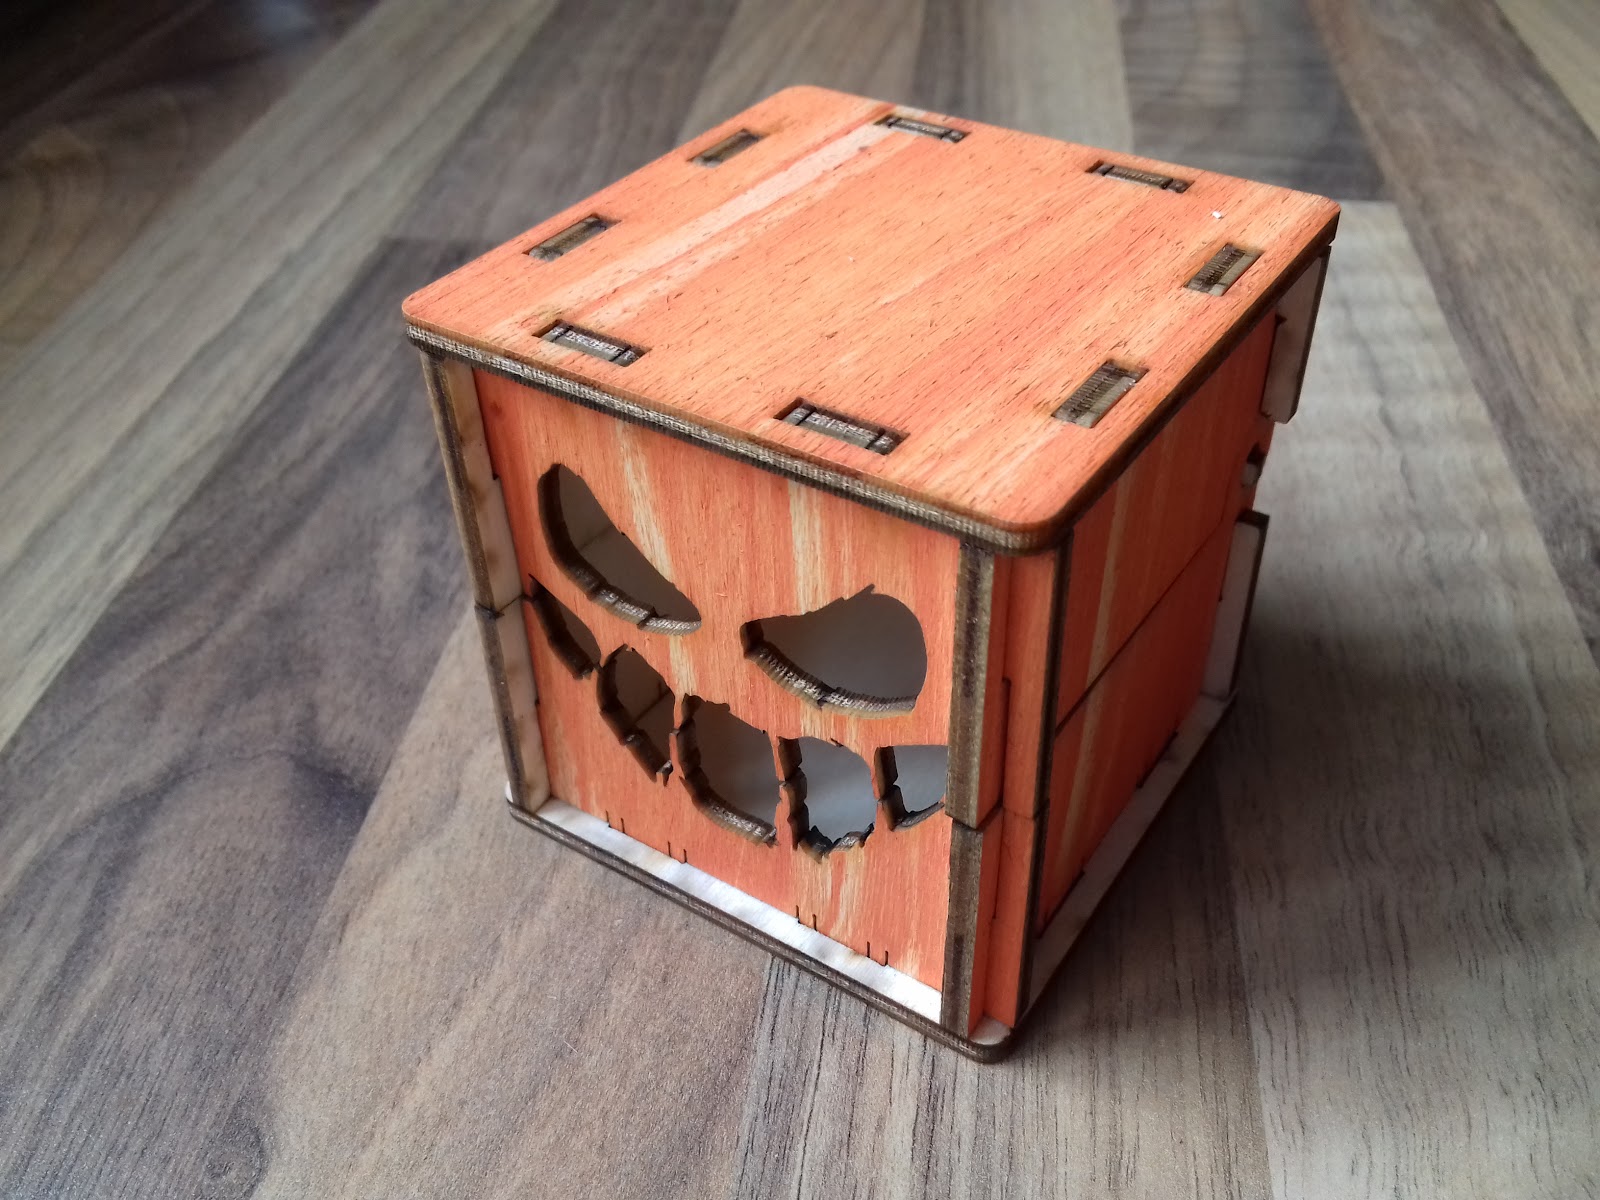
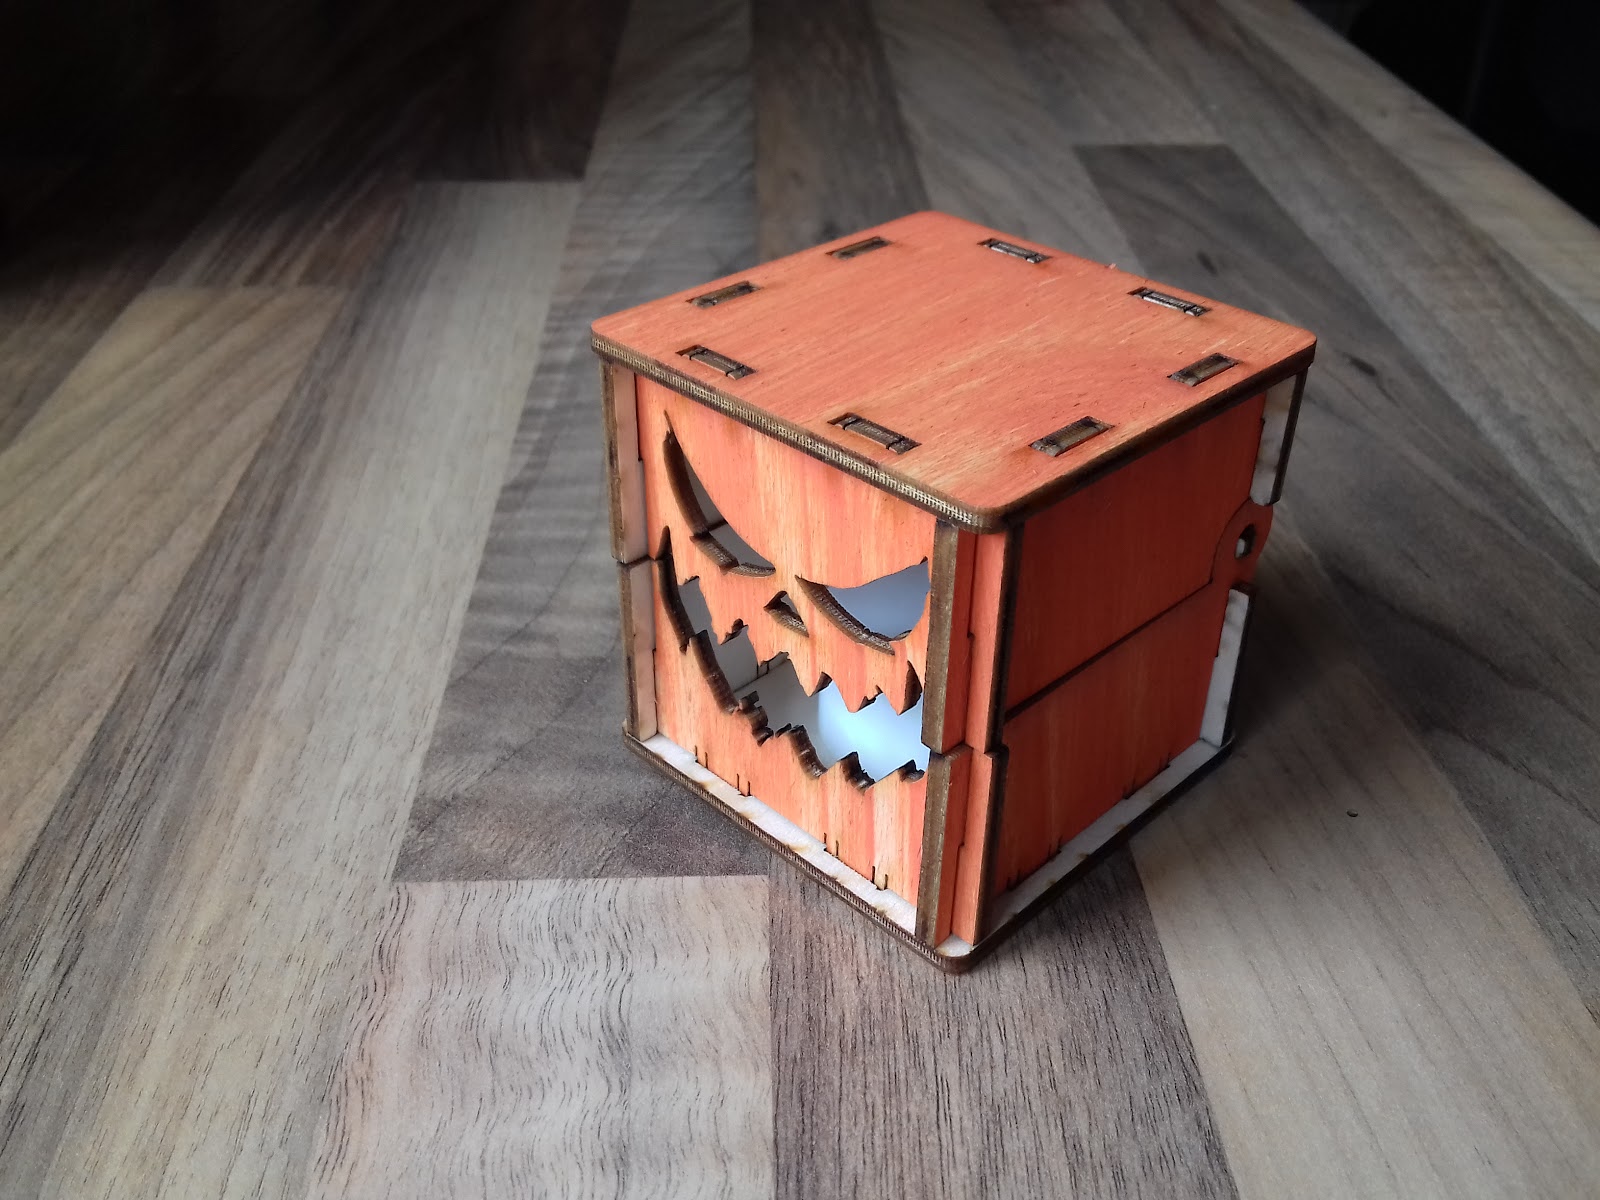
I now have a complete set of 4 different pumpkin designs that I'm happy enough to release. I tweaked all the narrow parts to make sure that everything cuts cleanly and all the narrow parts are strong enough. The design is cut from 3mm poplar ply, painted orange. The files for these pumpkin boxes are available for purchase from my Etsy store. https://www.etsy.com/uk/listing/1303583572/four-halloween-pumpkin-box-plans-gift?ref=listings_manager_grid I'm releasing the basic box shape for you to add your own pumpkin faces too, if you make and design one then please leave me a comment I'd love to see them. ( svg here )  

Hinged Pumpkin Box 3

Image
I wanted these boxes to be coloured rather than plain wood so I reached for the acrylic paints and mixed up a nice shade of orange paint for them. The colour came out nice with some good coverage and uniform all over so I scrapped some off again before it had set. The results speak for themselves and I'm really happy with the textured style for the panels. I made sure to align the streaks vertically on the sides of the box during cutting.  

Hinged Pumpkin Box 2

Image
  The back wall of these little boxes has pegs so that the lid can pivot on the side walls of the box. This 'flip top head' opening makes it easy to put objects inside the box. The front wall of the box separates along the smile. It's a relatively simple process to change the face on the front of the box so that you can have lots of unique designs (Like a typical pumpkin).

Hinged Pumpkin Box

Image
  I made some more cute little Halloween boxes based on a pumpkin smile. It's just big enough to hold an LED tea light so it flickers in the dark. The whole box presses together and hinges across the back for a nice wide smile.

Pumpkin Halloween Box

Image
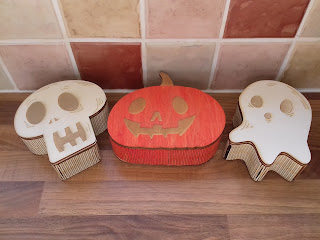
  The final box in the collection is a pumpkin shaped box. The plywood was painted orange and deliberately streaky for this final design to add to the pumpkin texture. I felt that trying to get the edge of the box to curve all of the way around the stalk was a big task so I simply drew the stalk on the lid only and curved the box around the basic pumpkin shape. I've tweaked all three designs to the point where they all work well and are ready to be cut on other machines. The designs are available for purchase through my Etsy store  for a nominal fee (which seems to be a good way to cope with the additional support some people need).  If you're interested and want to support me to make more designs like this, then please take a look. https://www.etsy.com/uk/listing/1307591527/3-halloween-box-plans-gift-box-files

Ghost Halloween Box

Image
For the second of my new Halloween boxes I chose this cute little ghost shape. Again painted white and again a little bit too tight on the lower corners, but it still came out well and can be fixed on the next cut. I'm using the same method to make these boxes that I wrote about on instructables, way back in 2016. https://www.instructables.com/Laser-Cut-Heart-Shaped-Box/ . The process describes how you can make pretty much any shape using a mixture of separate flex sections and minimum bend radius curves. The outer skin is held in place while the glue dries using a former that is also cut at the same time as the rest of the box sides. Because the layers all nest inside each other these formers are a rather efficient usage of materials. I've got a third box design still to make and then I can tidy up the files for release.  

Skull Halloween Box

Image
I realise that Halloween isn't till October but for those people who are keen, like me, it pays to get started early. I've had this idea for interesting shaped flex boxes floating around for a very long time but this year I actually got round to making some more. It's a simple skull to start with, some nice rounded curves on the top and some tighter bends at the bottom of the jaw. Too tight in fact, I've changed it to put a gentler curve on the bottom edge before I release the files. The side of the box is made from two different flex sections for the acute angles to the left and right of the jaw. The whole sheet was painted white which is hard to see from these pictures but it is a bit more obvious in person.  

Magazine File

Image
The new magazine file design I've made a few of these magazine files before but they're getting well used, plus my kids are still subscribing to 'The Phoenix' comic so there are more and more comics lying around in piles so I figured it was time to revamp the design a little bit and make some more for storage.    Damage to the original box file caused by use You can see in this image how the kids have been taking the files on/off the shelves. This has resulted in them snapping the front panel in halve. I imagine overloading the file also caused the sides to push apart breaking the glue joint. The new version strengthens the front and back panel by making them overlap the side panels instead of just being glued on. Now all of the tabs pull through into the side panels rather than pull away from them. The base panel has a similar joint to stop the base from falling out.  Side panel joints are strengthened by overlapping material The two sides of this file tessellate pe...

E-knuff time has passed

Image
It's been a long time since I made that pun and shared this file, I'm probably safe to use it again. My kids have been getting subscriptions to their magazines for a while now and it's great during lock down, each week a comic arrives and takes their minds completely elsewhere. They've now got so many comics they need something to store them in so I looked back at my previous Knuff design and hurried to cut them out.  Clearly a lot changes in 5 years and there are better things I do to present the file but most significantly when I recut the files this time around they still didn't work, now the whole thing has been updated, checked, rechecked and demonstrated to be working. ( svg here )

Mass Customisation

Image
Something that always stuck with me during my various business studies classes was this idea of 'mass customisation'. The juxtaposition of the two terms definitely stuck in my mind and I was reminded of it today while making the next batch of these spell slot trays . I don't mind which colour the wood gets stained, which font goes on the top or even what scale the trays are (because normal dice only come in a small range of sizes). I can make a quick adjustment to the design in under a minute, cut a tray out in similar time and each person gets something that is custom to them but still 'mass' produced by me. In general I have a bunch of escape room work completed which I'm keen to post up here (with obscure photos) I just need to get clearance first. Then I've got some ranges of boxes with artwork to share while I'm working on the next projects.

Double sided edge lit sign

Image
I haven't seen any other double sided edge lit signs before and it's probably with good reason but I think this one came out well enough considering. ' Eldritch ' wanted an edge lit sign for an exhibition, arrows on both sides so that it can be pointed towards the stall from either side. Sounds simple enough, their logo is white lettering on black background so the idea was at least workable. I sprayed some clear acrylic sheet black and etched the logo through the paint to make it stand out. The colour contrast is good but you can kind of see the opposite logo on the other side and the arrows didn't quite line up which is always a disappointment. I used a paint can on the sheet for ease and after reading the instructions I used some fine sand paper to key the smooth surfaces of the sheet. The trouble is that this 'frosting' of the sheet absorbs light from the strip and prevents it from reaching the lettering. There is far less internal reflectio...

Caverna Food Tokens

Image
Another custom request for Caverna. The original game comes with lots of wooden tokens for carrots, wheat, wood and stone etc, but the food tokens are punched from cardboard. I was asked if it was possible to make a set of wooden food tokens to go along with all the other wooden tokens. I used a mixture of line artwork and engraving to produce this effect. This is definitely a nice project, because at just 16mm diameter I can make lots of these from my scrap materials.

Caverna Mini Expansion Trays

Image
That didn't take long, once I had listed the Water Expansion trays I was asked to also do the Mini Expansion trays . These expansion look like fun for the original game of Caverna, I may have to acquire a set even if it's just so that I can take photos of populated trays.

Caverna Water Expansion Tray

Image
I've had the basic Caverna building trays up on my etsy store for a long time now and they sell relatively well. I had a custom request to make a matching tray for the water expansion . I drew the files 6 months ago and showed them to the customer who never responded so, having done all the work, I received no money for it and never actually cut a tray. I figured I should finally get this one listed on my etsy store too because if it's not up there then nobody will know to buy it.